A simple weekend mini album
Basic signature structure, cover and how to plan pages so you do not stall halfway.
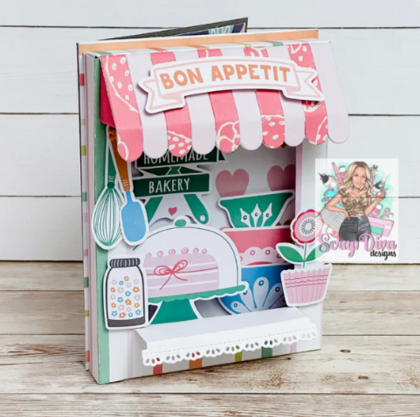
A mini album tells a short story (a trip, a birthday) in a few pages. You do not need complex binding: stitched signatures or rings already make something you can keep and gift.
Supplies
- Thick cardstock for the cover
- Papers for the insides
- Thread and needle (or rings / binder)
- Small photos and adhesive
- Ribbon or elastic closure (optional)
Step by step
-
Decide size and page count
Start with 6–8 inside pages (3–4 folded sheets). More than that drags on and does not get finished.
-
Cut all sheets at once
Same size, same grain direction. Fold and burnish the spine well.
-
Plan content on paper
List: cover, page 1 (intro), photo pages, closing. Assign photos before decorating.
-
Decorate page by page
Leave margins at the spine so rings or stitching are not covered. Fewer layers near the fold.
-
Bind at the end
Stitch the signatures or add rings. Add the cover and a simple closure if needed.
Practical tips
- Work in batches: all bases, then all photos, then embellishments.
- An unfinished mini album can close with an “end” page and grow later.
FAQ
Rings or stitching?
Rings: easier to add pages. Stitching: cleaner and more compact. For a first one, rings.
Related products
A few products from the shop to practise what this tutorial covers: