Embossing folders: texture in seconds
How to get clean embossed texture, which paper works best and how to combine folders with ink.
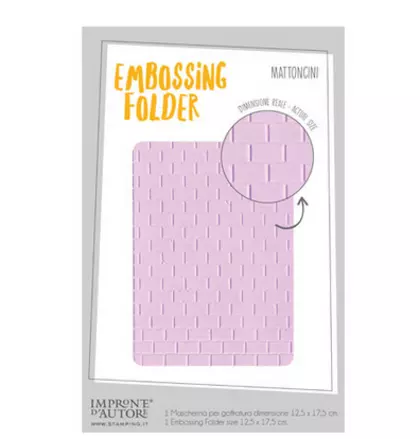
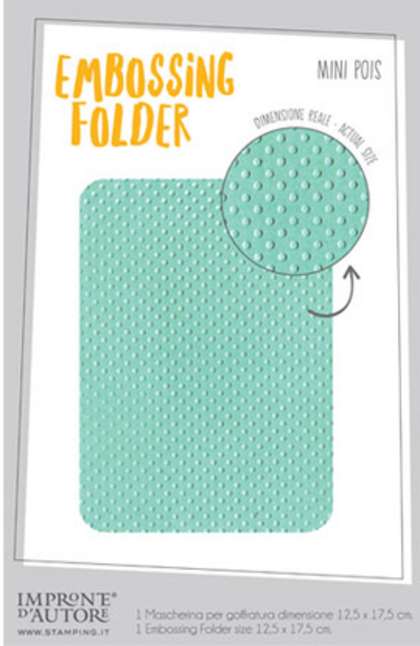
Embossing folders are two textured plates that leave raised pattern in paper as they pass through the machine. They do not cut: they only mark. They are the fastest way to add depth to a base without stacking layers.
Supplies
- Embossing folder — Embossing Folders
- Die-cutting machine with embossing sandwich
- Smooth cardstock of 200 to 250 gsm
- Optional ink to highlight the relief
Step by step
-
Choose the correct sandwich
The embossing sandwich usually uses fewer or different plates than cutting. If you use the cutting stack, you flatten the texture or damage the folder.
-
Trim the paper to the folder size
If it sticks out, only part gets embossed and the edge looks odd. Better if the whole piece fits, or trim afterwards on purpose.
-
Place the paper inside and close
Make sure it does not shift. Some folders have guides; use them.
-
Run the machine once
One firm pass is enough. Running again flattens the relief instead of deepening it.
-
Highlight the relief if you want
Swipe a darker ink or distress oxide across the surface with an applicator: it catches on the ridges and the pattern reads better.
Practical tips
- Matte cardstock holds embossing better than glossy.
- If the folder sticks, clean adhesive residue from previous uses.
- Store folders flat, not bent: if they warp, the embossing comes out uneven.
FAQ
Can I emboss patterned paper?
Yes, but the print competes with the texture. It works better on plains or very soft patterns.
Related products
A few products from the shop to practise what this tutorial covers: