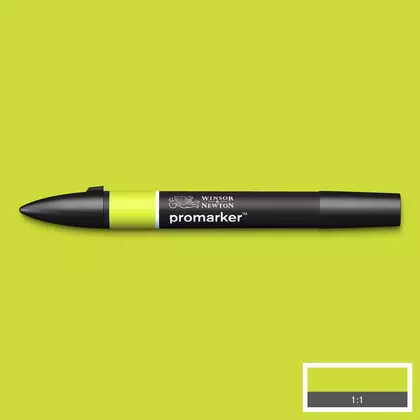
Alcohol markers: how to start without ruining everything
The right paper, colouring order, blending tones and the mistakes that wreck a first drawing.
Alcohol markers (Ohuhu, Copic, Spectrum…) blend because the solvent redistributes pigment. They do not behave like school markers: they need specific paper, light layers and a light-to-dark order. Used well, they give clean volume; used poorly, they bleed through and leave streaks.
Supplies
- Alcohol marker set (at least 3 tones from one family) — Ohuhu Honolulu set completo de 320 colores
- Marker paper or bristol (not ordinary cardstock) — Paper
- Stamped or printed image with alcohol-resistant ink
- Protective sheet underneath
Step by step
-
Choose paper that can take it
Ordinary cardstock absorbs badly and colour streaks. Use marker paper or bristol of at least 200 gsm. Always put a sheet underneath: they bleed through.
-
Work light to dark
First layer with the lightest tone, covering the whole area. Then the mid tone where you want shadow, and the dark only in the corners. It is easier to darken than to lighten.
-
Blend while wet
Go over the edge between two colours with the light tone again. The alcohol reactivates and fuses them. If you wait until dry, you will see the line.
-
Thin layers, not blobs
Several light passes give more control than one heavy load. The brush tip is more versatile than the chisel for large areas.
-
Let it dry before layering on top
If you will stamp or glue over the colour, wait a few minutes. Residual alcohol can reactivate and smear.
Practical tips
- Store markers horizontally so both tips stay evenly wet.
- A colorless blender does not “erase”: it pushes pigment. Use it to soften edges, not to fix big mistakes.
- Test combinations with the shop colour combiner before colouring the final piece.
FAQ
Can I use them over stamps with any ink?
No. You need alcohol-resistant ink (or well-dried pigment). Ordinary dye ink will run.
Related products
A few products from the shop to practise what this tutorial covers: